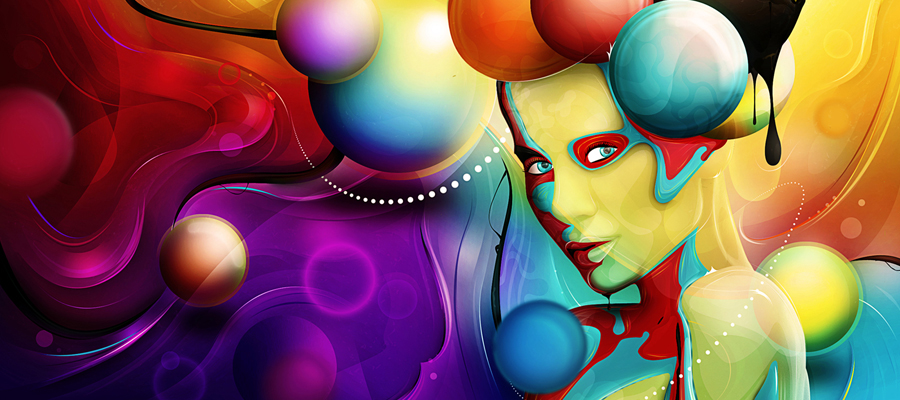
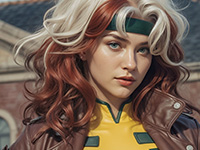
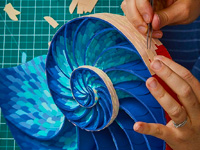
In this Photoshop tutorial, you will learn how to turn a photo into an CutOut painting, using a few filters with a very simple technique. Even though it may look like a difficult tutorial, it’s really not that hard. Let’s get started!

Tutorial Details
- Program: Adobe Photoshop
- Difficulty: Beginner
- Estimated Completion Time: 30 Minutes
Take a look at the image we’ll be creating. You can download the layered PSD document from the button below.
Step 01
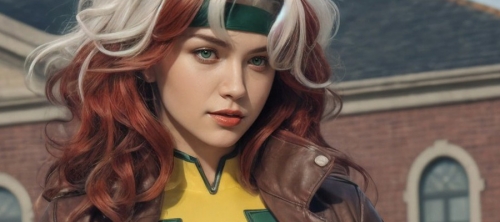
The first step is choosing the photo. You can use any other image if you wish, but there are a few points to keep in mind. First of all, the settings of the filters we’ll use in this tutorial depends on the image size, so using smaller or larger images will end up with different results. Second, you can play around with the settings when applying filters, according to the image you’re using.

Step 02
Duplicate the picture layer and name it "Bottom Layer".
Go to Filter > Artistic > Cutout and use these settings:

You should have something like this:

Play about with the the settings until you get something that you like.
Step 03
Duplicate the "Background" layer (Command+J) two more times. Name these two copies as "Relief" and "Color".
The "Relief" layer is below the "Color" layer.
Select the "Relief" layer in the Layers Palette, set Foreground Color to black (see picture below if you don't understand this), set Background Color to white.
Go to Filter > Sketch > Bas Relief. Use these settings:

Set Blending Mode of "Color" layer to Color.
Select both "Color" and "Relief" layers and hit Command+E (Ctrl+E) to merge.

Step 04
Select the "Color" layer and go to Filter > Artistic > Cutout and use these settings:


Go to Layers Palette and set the Blending Mode of "Color" layer to Overlay.
Keep in mind that applying different filters instead of Bas Relief at this step is worth giving a shot.

Conclusion
Well, this is the end of this short tutorial. Again, you can play with the settings until you get something that you like. I hope you found this technique useful and had fun. Enjoy applying these technique in your own work!


