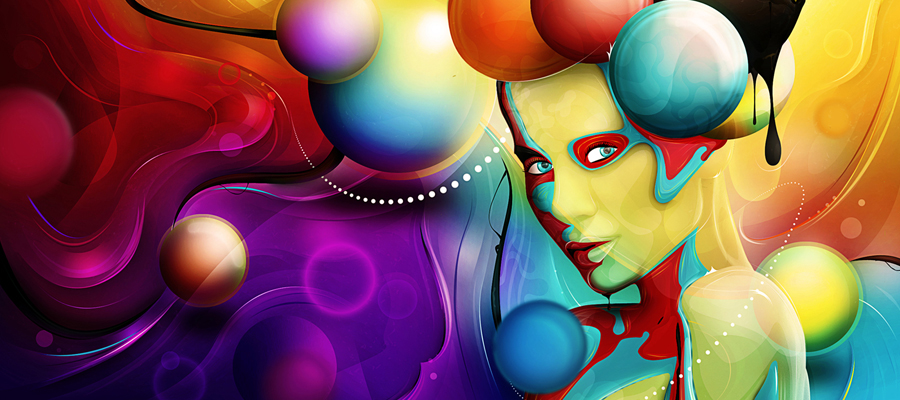
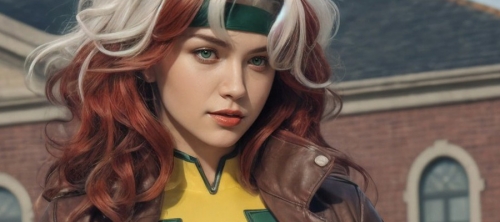
In this Photoshop tutorial, we will try to manipulate photos by adding light effects and 3D objects. For this purpose, we will experiment with layer blending mode, combining abstract 3-dimensional stock, and make the process of transformation. I will also show the selection techniques to combine the pen tool and the Alpha Channel.
Tutorial Details
- Difficulty Level: Intermediate, Advanced
- Programs Used: Adobe Photoshop
- Techniques: Process Transformation, Layer Mask, Blending Mode Experiment
- Estimated Completion Time: 1 hour
Preview
Before starting this tutorial, please see the first outcome that we will get.

Resource Needed
To follow this tutorial, please take the following resources first:
- Dancers from becky-stock
- Abstract 3D Renders VOL1 of WeGraphics
- Abstract 3D Renders Vol2 from WeGraphics
- Concrete Texture of VandelayPremier
- Set Nebula from kire1987
- Set 3D Obscure Object of eddy-pochy
- Golden Ball from Stock Exchange
Step 1: Selecting Models
Our first step is to separate the model from the background. I usually do this process manually using pen tool. Start by creating a new path around the outside of the model which we will take. Body part model is very easy to capture using this method, but the strands of hair will be difficult. For the moment forget that part, we will take care of it later.

Step 2
Create an additional path for hole model. In line options, select the Subtract mode.

Step 3
Press Ctrl + Enter to change the path into selection. In the Layers panel, double-click Background to turn it into a selection. Press Ctrl + Shift + J to move the model into a new layer.

Step 4: Selecting Hair
Take the layer that still leaves the model's hair. Remove unneeded parts.

Step 5
Observe each channel. Find a channel with the hair and background contrast the highest. In this case, the winner turned out to Red Channel. Duplication Red channel by sliding it onto the New Alpha Channel icons.

Step 6
Press Ctrl + I to invert the color channels. Use the dodge and burn tool to enhance the contrast Channel.

Step 7
Areas that are not needed outside of the hand-like side-can be directly disposed painted it with black.

Step 8
Hold down Ctrl and then click Copy Red Channel to turn it into seleksi.Aktifkan back channel RGB, press Ctrl + J to move the hair into a new layer. Selection of hair and the model layer and press Ctrl + E to merge the two.


Step 9
Create a new layer and save the above model. Change the Clipping Mask layer by pressing Ctrl + Alt + G. Black paint on the parts of the yellow because of the influence of the old background.

Step 10: Dodge and Burn
Alt-click New Layer icon. Enable the Use Previous Layer to Create Clipping Mask. Select the Blend mode: Overlay and set the Fill with Overlay-neutral color.

Step 11
Painting with burn tools to darken and dodge tool to explain. Repeat this process until the image contrast increases. Below you can see the comparison before and after the dodge and burn.

Below is the resulting layer. Bright areas would explain the picture below, as well as for the dark areas. Gray area (50% Grey) will not affect the image.

Step 12: Prepare Background
Create a new file and fill the background with gray color. Take the texture of concrete. Perform a transformation (Ctrl + T), Ctrl + Shift + Alt-drag the bottom corner to give the perspective of the floor.

Step 13
Add more texture to the concrete wall.

Step 15: adding model
Take the model and store in the middle of the canvas. Give Outer Glow Layer Style with purple.


The model will have a little glint of purple around it.

Step 16
Turn up the contrast model by giving Adjustment Layer Brightness / Contrast. Press Ctrl + Alt + G to change the adjustment layer to the Clipping Mask for the affected models only.

Step 17
Rate Adjustment Layer Hue / Saturation with the settings as below to change the color to a purple shirt. Painting the others for the color change did not participate.

The following comparison of before and after administration of adjustment layers.

Step 18
Note that there are some yellow color in the hair model. Create a new layer above the model and change to a Clipping Mask (Ctrl + Alt + G). Black paint on the hair to eliminate them.

Step 19: Shadow Model
Create a new layer above the background. Painting a big shadow under the model with a black brush beropacity low.

Step 20
Zoom closer to the foot model. Painting shadows more firmly just below the foot model.


Step 22: Adding Effects of Light and Objects 3 Dimensions
Hide the model first. Take pictures at the bottom of the set of abstract 3D objects. Because the black background, we can easily eliminate them by changing the layer blend mode to Screen.

Step 23
Come up with a model again.

Step 24
Take the abstract objects and 3D ball from the set of abstract 3D. Save on the back of the model.

Step 25
Add some of the same object at the back of the model.

Step 26
Turn on the gradient tool with radial gradient from white to transparent. Give Color Overlay color purple.


Step 27
Take pictures of nebulae and store in the back of the model.

Step 28
Change the layer blend mode to Screen nebula. Delete the unnecessary so that the obtained results as shown below.

Step 29
Press Ctrl + T to transform. Right click and select Warp. Shear warp box until one obtains a unique sparkle of light.


Step 30
Take pictures of other nebulae. Save on the back of the model.

Step 31
Change the layer blend mode to Screen, delete the parts that are not needed.

Step 32
Take the 3-dimensional rendering of abstract objects. Do Warp transformation process.

Step 33
Change the layer blend mode to Screen.

Step 34
Repeat the same process with other abstract images.

Step 35
Change the color using the command image> Adjustments> Hue / Saturation to match the current color theme.

Step 36
Click Filter> Blur> Gaussian Blur to soften the light obtained.

Step 37
Change the layer blend mode to Screen.

Step 38
Repeat the same process to get more light effects.

Step 39
Take the 3-dimensional abstract objects. Save in front of the foot. Delete some object to give the impression around the foot.

Step 40
Change the color by giving Adjustment Layer Color Balance to match the theme color of the image.Click on the icon Clipping Mask for this adjustment layer affects only the abstract objects only.

Step 41
Create a new layer below the abstract object. Figure shadow object on foot. This shadow will reinforce the impression of realistic 3D objects.

Step 42
Repeat the same process to add more 3-dimensional abstract objects on the body model. Delete some objects to impress around the model.

Step 43
Image of hand shadows on the abstract objects and abstract objects in the body shadow model.

Step 44
To provide depth, take the abstract 3-dimensional object with a large enough size and buramkan by making a Gaussian Blur (Filter> Blur> Gaussian Blur).

Step 45
Take pictures of the gold ball. Selection of gold balls with ellipse marquee tool.

Step 46
Save the ball into the canvas. Change the color becomes purple, according to the current color theme.

Step 47
Duplicate the ball and give the Gaussian Blur to give the impression of shine on the ball. Save sparkle under the original.

Step 48
Create a layer and then drawing a few white lines. Press Ctrl + Alt + G to insert a line into the ball.

Step 49
Keep the ball in the back of the model.

Step 50
Duplicate the ball and keep it in various other positions. Change the size to vary.

Step 51
Add also the ball on the floor. Figure shadow ball on the floor to make it look realistic.

Step 52
I also take an abstract 3-dimensional objects from WeGraphics . Keep on top of the foot model.Delete some to be seen attached to the model.

Step 53
Painted shadow object on foot to make it look realistic.

Step 54
Using the manner as described in Step 27, create some light effects in front of the model.

Step 55
I add one more 3-dimensional abstract objects and light effects on the hand model.

Step 56
Take the 3-dimensional abstract object and save it at the end of the light. Delete some with low beropacity eraser tool so that the light was seen getting into the object. Figure shadow object on the floor.

Step 57
I add more 3D objects from WeGraphics and store it in the back of the model.

Step 58
Adjust the color of the object with a color theme image. Give Color Balance Adjustment Layer with the following settings.

Step 59
Duplicate 3D objects and rotate slightly. Painting shadows on the second abstract objects to give depth to the first abstract object.

Step 60
Take the abstract background black object from an abstract set of 3D. Eliminate the color with the click Image> Adjustments> Desaturate. Remove images that cover the model. Change the layer blend mode to Screen.

Step 61
Make sure the front of the white color. Activate the brush tool by activating the setting Scattering.Create a line of light around the model.

Step 62
Take pictures of the set of abstract background black abstract 3-dimensional objects and change the layer blend mode to Screen.

Step 63
Create a new layer and save it at the top. Painted red with a large brush size and hardness: 0%.Change the layer blend mode to Soft Light Opacity: 25%.

Step 64
Create another new layer and painted blue. Change the blend mode to Color Dodge layer with Opacity: 70%.

Step 65
Painted purple line and change the blend mode to Color Dodge layer with Opacity: 36%.

Almost Done
Take the crop tool and cut the picture to get an interesting composition.

Final Result

Save the work you created. Save it again as a JPG file, now we are going to gave the composition a unique color flavor.
Download the free Photoshop Actions Set from my DeviantART page.
Experiment with these to get different colour results: when you’ve found one you like, you’ve finished.
This is the result that i like the most:

