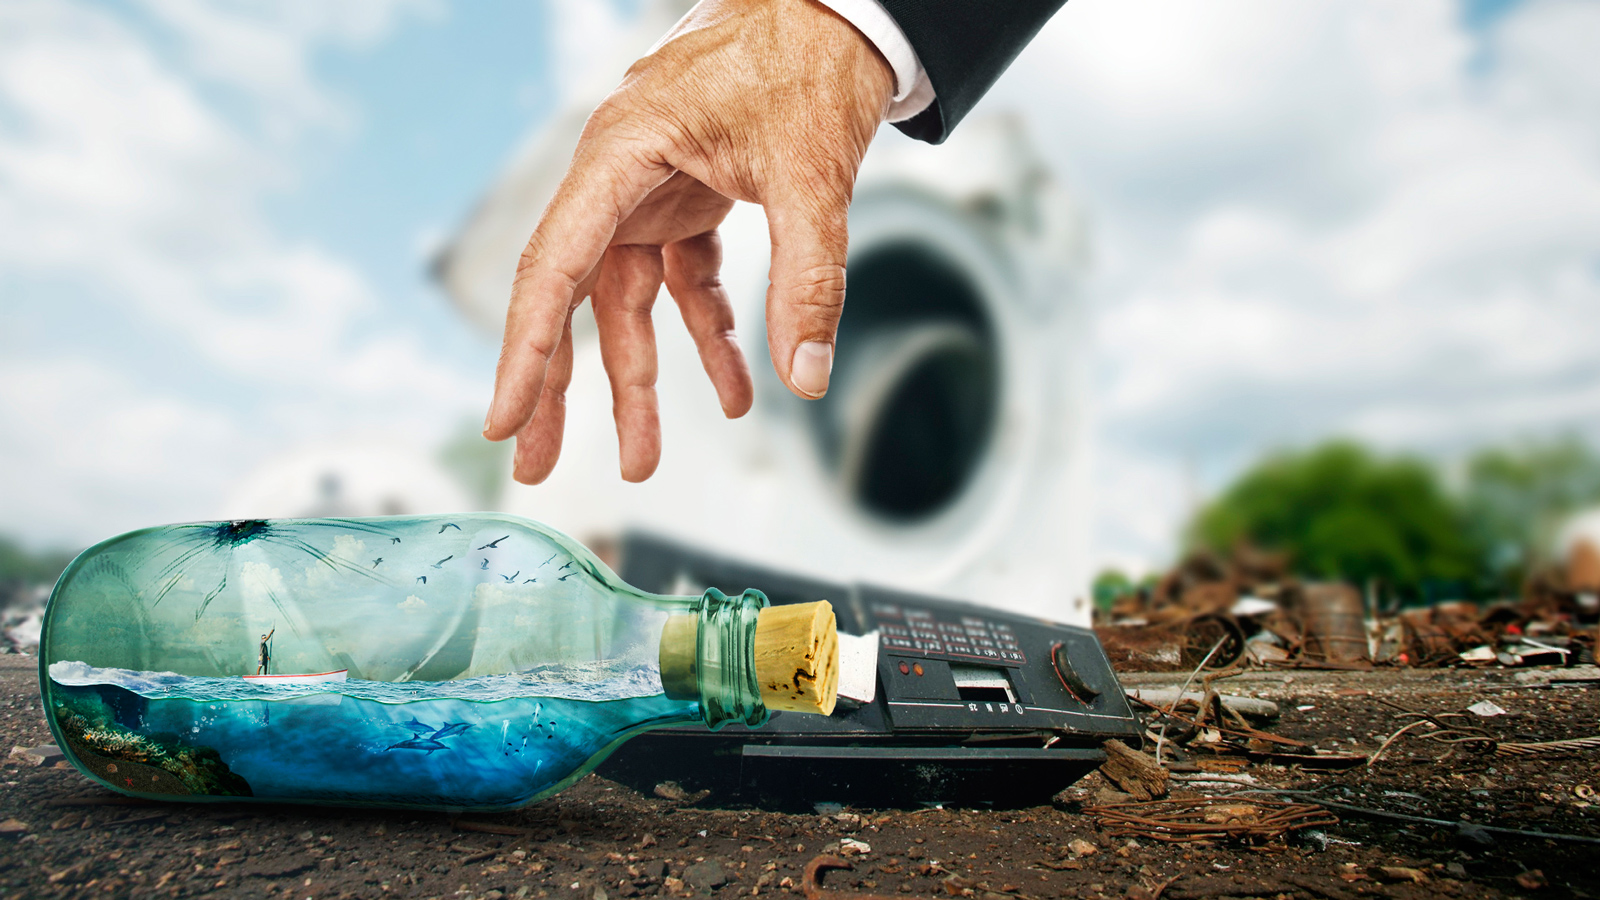
In this Photoshop tutorial, we are going to fit an entire oceanscape into a bottle, we will realize it using a variety of blending mode tricks, photo filters and other useful Photoshop techniques. At the end of this process we will have a beautiful photo manipulation, realized in a short time and a very easily way. As usual, you’ll learn loads of great tips and cool tricks in this tutorial. If you want to take your creative composition skills to the next level, this Photoshop tutorial is perfect for you. Let’s get started!
Tutorial Details
- Estimated Completion Time: 3 hours
- Difficulty: Intermediate Level
- Program: Adobe Photoshop
We're going to use a lot of images this time around in our tutorial. So go ahead and prepare these kind of images you see below (search for something similar on stock photos websites).

Place the bottle into our workspace, and remove the logo.

Tilt the bottle, and drag its blending slider to make the bottle more transluscent.

Change its color by first applying:

and then pull out selective color to further adjust the color.

Place the cork at the mouth of the bottle.

Mask the cork as if it were stuffed inside the bottle. Use a 50% brush to mask the portion of the cork that appears in the bottle to give it a more opaque look.

Decrease the brightness by dragging curves.

Further darken the areas as shown, as that area comes in contact with water.

Water and Ocean surface:
Here we can sketch how much water we want to fill up.

Using a blue brush draw shapes according to our sketch. We can change its blend mode to 'Multiply'.

Create a gradient (bright to dark) on our water to give an impression of light filtering through.

Next, copy a portion of the ocean into our workspace. Erase areas so that we can get the ocean surface that we want.

Create a meniscus effect of sorts by applying these to blending options:

Change the hue and brightness of the ocean surface.

We can add splash effect in the bottle (sea water crashing), simply by using a portion of the rough seas image. Copy and mask off excessive areas like so:

Fisherman & Boat:
Import the image of fisherman. Resize and place it accordingly.

Mask off unwanted areas and adjust the color so that it matches its surroundings.

Reduce the opacity to around 75% to give it a glassy effect.

Add the bottom of a boat by using image of another boat. Once properly masked off and placed, set it's opacity to 30%.

The long paddle seems incomplete, so we are going to draw it. When done, use the burn tool to give the paddle some depth.

Seagulls & Marine life:
Copy the seagull image into our workspace.

Drag its blending slider to quickly blend the image.

Mask off excessive areas.

Have the dolphin image transformed and desaturated.

Change its blend mode to 'Overlay',

and erase excessive areas.

Next up, add in some jellyfish employing methods similar to the dolphins.

Import image of a coral reef and place it at the end of the bottle.

Erase areas as shown, and add in 'Drop shadow' blending option according to settings shown below:


That empty area will be used to fill in some sand. Select that area and fill it with white. Then. have our foreground and background color in two shades of brown, and hit Filter > Add noise. Blur and sharpen the sand to your preference.

I've added in tiny sea shells and starfish to spice up the sand area.

Bubbles:
Draw shape similar to below. I simply draw a hard edged circle, and use a soft brush to erase the center. Once done, define it as brush preset.

Use the brush settings as shown below (or similar settings), we can then start to paint our bubbles. Place some around the reef, the oar, and tails of dolphin.

Light rays and ambience aura:
In a nutshell, what I did was render clouds and difference clouds, and also applied a blur filter after. Remove excessive areas, change its blend mode to 'Overlay' and tune its opacity.

Same goes to light rays.

Additional Elements:
Adding in a faint sky and clouds background.

Mask off areas deemed excessive and set opacity to 20%.

Adding cracks to the bottle. Import this image.

Warp and transform till we get conformant shape:

Erase those extrusions to beyond the bottle.

Set it as 'Soft Light' blend mode.

Duplicate it and nudge it a few pixel downwards. This gives an impression of a thick glass bottle.

Go to our bottle layer, and erase according to our crack texture.

Introduce sunrays from the top:

Once done, we can start to add shades and shadow to our bottle. Draw an elliptical shape and feather that selection. Then, simply fill the selection with black color on a different layer. Transform and adjust the opacity until we achieve the desired effect.

Further add shades and highlights to the whole bottle, and we're done.

In the final image, I've added in a hand into the whole composition to give it some sense of scale and upon inspection, viewers will realize that its a small magical bottle.

Finished!
Well that’s all for my tutorial! To finish off my piece I sized the image down, sharpened it and applied some slight color adjustments. I also created an alternate output.

I hope you enjoyed my tutorial and learned a thing or two! If you have any questions please don’t hesitate to ask!
